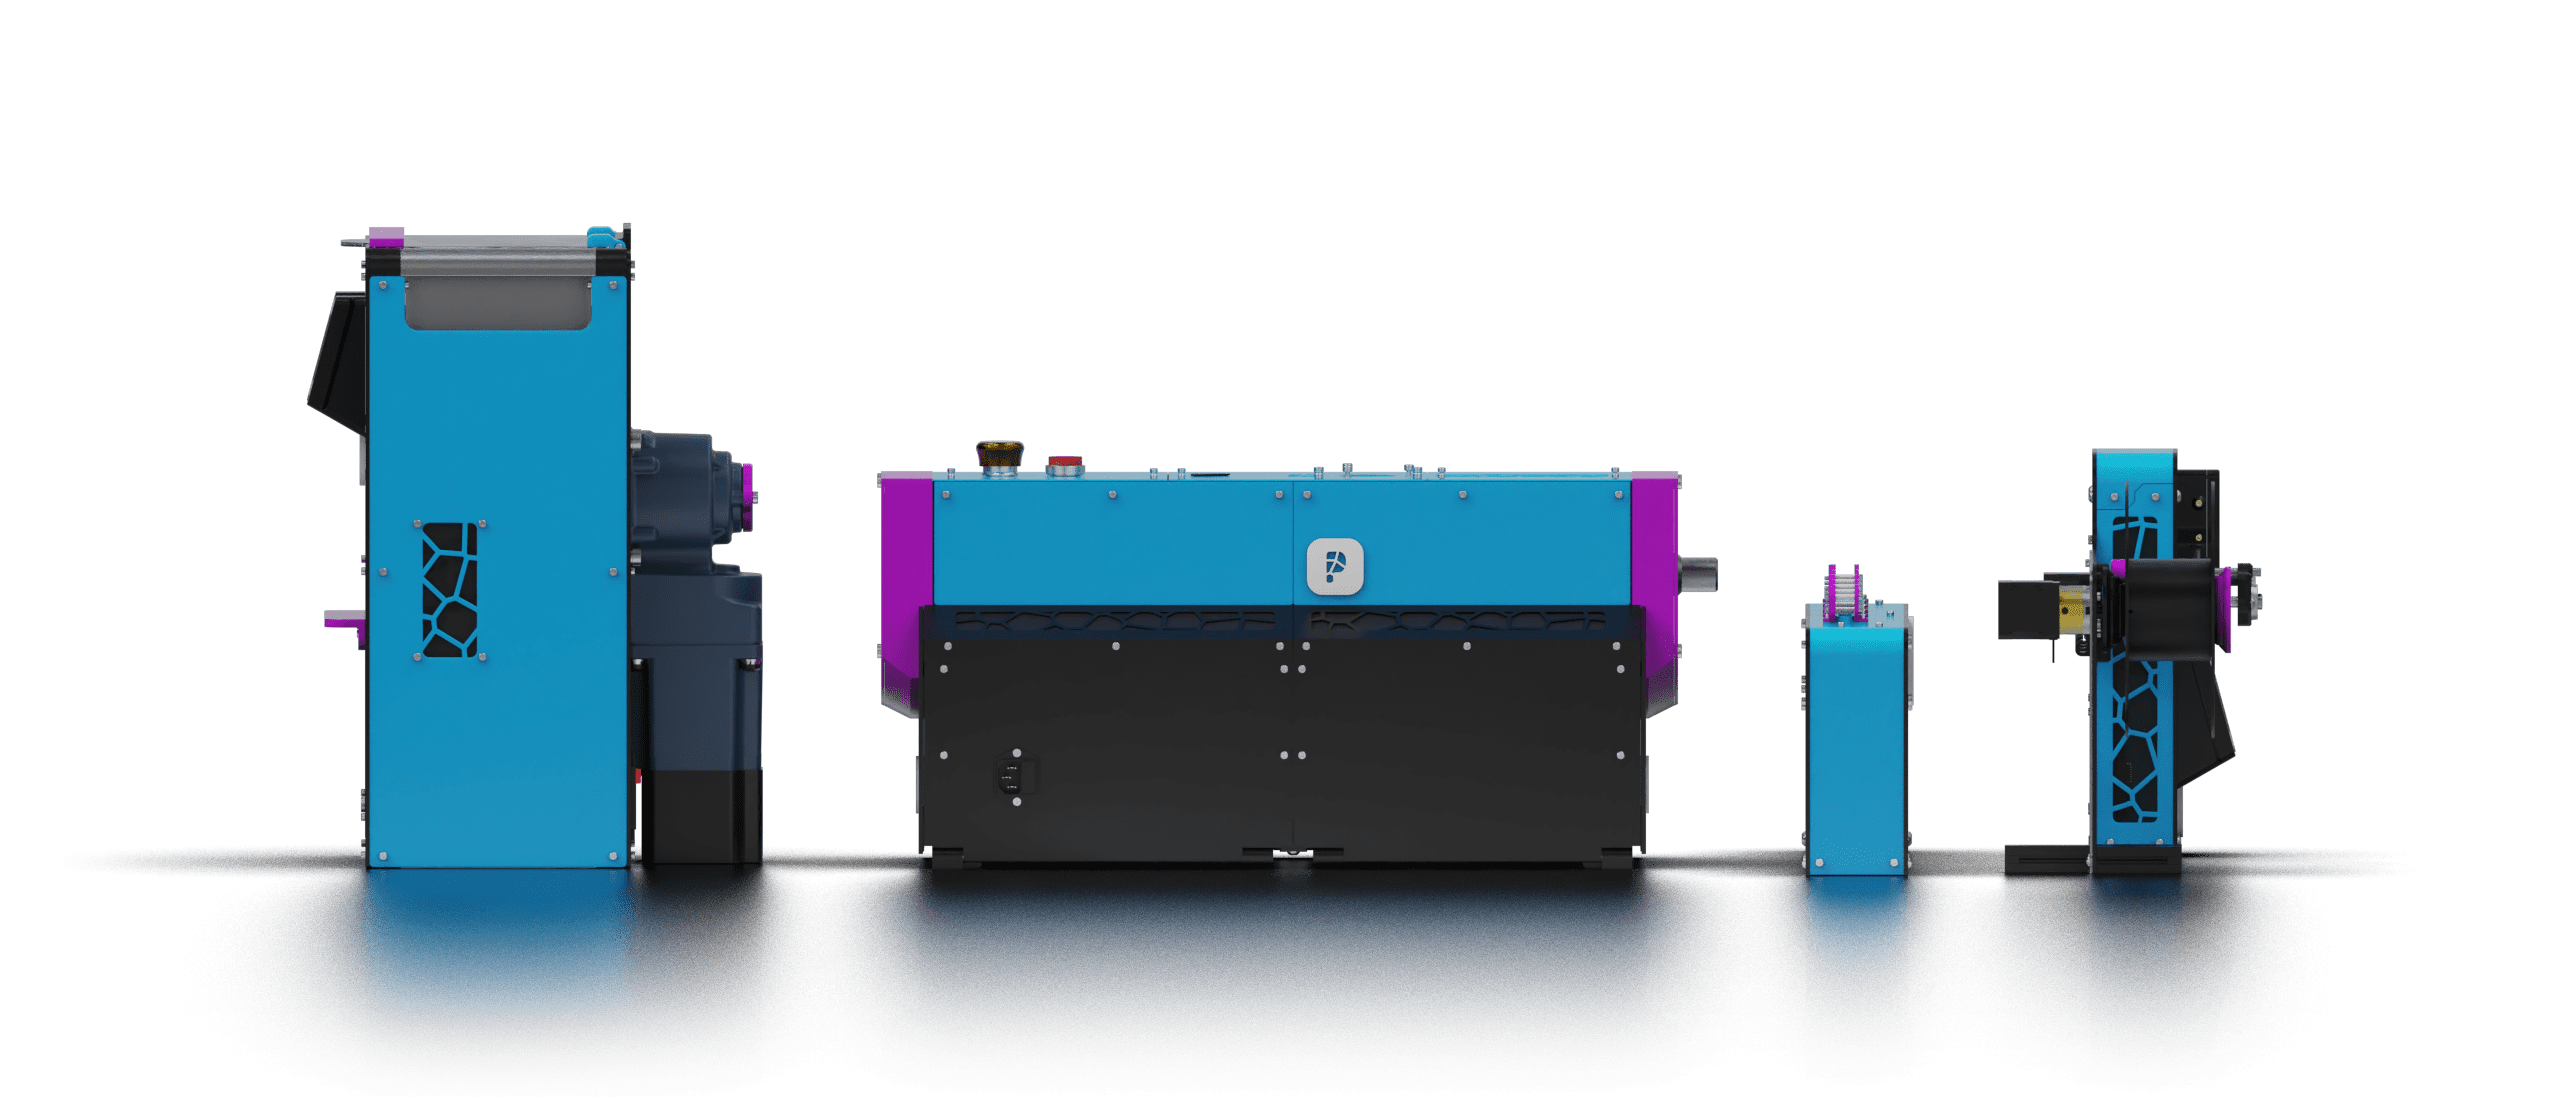
In recycled filament extrusion, shred size can affect the process before the plastic starts to melt. The problem often begins in the hopper. Shreds may be too large, too fine, too flat, or too mixed in shape.
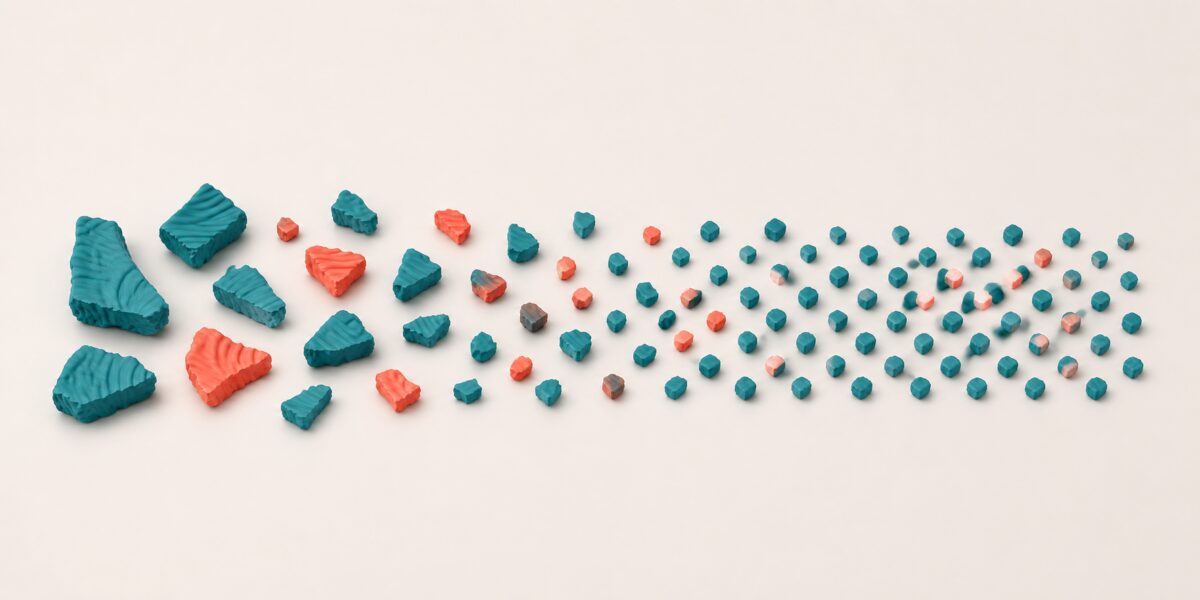
Particle size affects how plastic packs, slides, and enters the screw. It can change output, melt flow, and filament diameter. A controlled shred size range gives extrusion a more stable starting point.
There is no universal shred size for every polymer or machine. Instead, define a working range for your equipment. Then measure it with a simple and repeatable method.
Shred Size Is More Than One Measurement
A batch of regrind may contain short chips, thin flakes, long strips, and dust. Two pieces can share the same length but flow in very different ways.
Track these four feedstock traits:
- Maximum piece size.
- Size distribution from fines to large pieces.
- Shape, including length, width, and flatness.
- Loose bulk density, or mass within a known volume.
Uniform pellets tend to flow well because their size and shape stay within a narrow range. Recycled flakes are less regular. They can interlock, span an opening, or trap large air spaces.
The goal is steady flow from one batch to the next. A short batch log can show when that flow starts to change.
Research from Michigan Technological University treated particle form as a process variable in recycled material extrusion. The work shows why shred size matters because shredding quality directly affects feeding. See the Michigan Tech study on recycled particle feedstocks.
How Irregular Feedstock Affects Extrusion
A screw extruder needs a steady mass of plastic at its inlet. Each screw turn should collect a similar amount. Heat and pressure can then develop in a stable way.
Irregular shred size can disturb extrusion in several ways.
Low Bulk Density Reduces Feed Rate
Flat flakes often hold more air than pellets. The hopper may look full while the screw receives less plastic by mass. Output may fall even when screw speed stays constant.
A study of regrind in a single-screw extruder found that low bulk density reduced specific throughput. The researchers also tested a modified feed zone. Read the study on processing regrind in single-screw extruders.
Large or Long Pieces Can Bridge
A thin strip can span the feed opening while smaller pieces sit above it. This is called bridging. The hopper still contains plastic, but little reaches the screw.
Bridging can cause a sudden output drop. Vibration or stirring may restart the flow. However, the fault will return if large or awkward pieces remain in the feedstock.
Stop the run if the feed path becomes blocked. Clear it with the machine off and follow the maker’s safety steps.
Mixed Shapes Change Screw Filling
Small particles can fill gaps between large flakes and raise bulk density. Too many fines can also compact, carry dust, or feed in bursts.
Research on solid conveying found that pellet size and shape both affect screw feeding. The result also depends on screw and feed-zone design. See the solid-conveying study.
Feed Variation Becomes Diameter Variation
A screw may alternate between full and partly starved conditions. Melt output can then pulse. The puller can correct only part of that change.
A repeating thick-thin pattern may begin upstream. Stable shred size supports stable feeding, not only die and puller settings.
Smaller Shreds Are Not Always Better
It is tempting to keep shredding until every piece is very small. That takes more time and energy. Each pass can also create more dust and fines.
Very small particles have more exposed surface area. They may collect moisture or contamination faster during storage. Fine feedstock can work well in suitable equipment, but an uncontrolled blend often causes trouble.
A narrow working range is more useful than the smallest possible average. Match the shred size to the feed opening, screw channel, polymer stiffness, and desired output. Consistency matters more than extreme size reduction.
Start with a small batch. Keep the range that gives the most even feed and output.
Choose a Working Range for Your Machine
Do not copy one shred-size number from another extruder. Begin with the machine maker’s limit, then test that range with your polymer.
Ask these questions when testing shred size:
- Can the largest piece pass through the narrowest opening?
- Do flat pieces overlap and form a bridge?
- Does the screw pull material without manual pushing?
- Does the hopper level fall at a steady rate?
- Does mass output remain stable over time?
- Does the melt contain solid fragments?
- Does filament diameter stay within the target range?
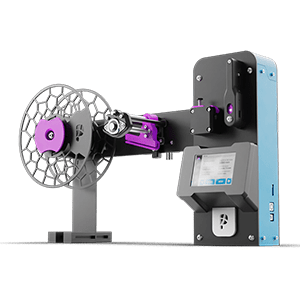
The Polystruder GR PRO typically produces pieces in the 3 to 5 mm range after repeated processing. Thin parts can still create larger outliers. Other systems may need a different range.
Use a Simple Feedstock Test
You do not need a laboratory particle analyzer. A scale, a known-volume container, and a few screens can reveal useful changes in shred size.
1. Take a Representative Sample
Mix the batch first. Collect material from the top, middle, and bottom. A scoop from one corner may not represent the full container.
2. Separate Coarse Pieces and Fines
Use a coarse screen that reflects the largest piece your system can accept. Use a finer screen to collect dust and very small particles.
Weigh the coarse, working, and fine fractions. Record each as a percentage of sample mass. Approved batches should stay within your own limits.
Use the same sample mass each time. This makes each shred size test easy to compare with the next.
3. Inspect Particle Shape
Look for long strips, curled walls, hooks, and wide flat flakes. These shapes may bridge even when they pass through a screen.
A top-down photo beside a ruler creates a useful record. Keep the background, sample mass, and camera distance the same.
4. Measure Loose Bulk Density
Fill a container of known volume without pressing the material down. Level the top and weigh the contents. Divide mass by volume.
Use the same filling method each time. A large change can reveal a new shape distribution, even when average size looks similar.
Write down the container size and fill method. Small changes in the test can shift the result.
5. Run a Short Extrusion Trial
Start with a stable machine profile. Measure output mass over fixed time periods. Record hopper flow, motor load, melt appearance, and filament diameter.
Change one variable at a time. If you change shred size, temperature, screw speed, and puller speed together, you will not know which change helped.
Keep the best test as a base line. Change the next setting only after flow has become steady again.
Control Fines and Large Pieces Separately
Large pieces and fines cause different problems. One screen is rarely enough.
Send clean oversized pieces through another shredding pass when the polymer is known. Keep dirty sweepings and uncertain plastic away from the approved batch.
Test fines as a measured percentage. Some systems can blend a limited amount back into the feed. Others may show unstable flow or excess dust.
Record rejected mass. A rise in large pieces may point to worn blades, a change in part shape, or a different shredding method.
Size Cannot Fix Moisture or Contamination
Uniform feedstock can still produce poor filament when the plastic is wet, mixed, or degraded.
PET is a clear example. A Technical University of Munich study used recycled PET bottle flakes. Drying was important because moisture promoted degradation and lower viscosity. Review the TUM recycled PET filament study.
Drying needs depend on polymer grade, storage, equipment, and target quality. Sorting also matters. Good shred size cannot make the wrong polymer safe to process.
Keep each dry batch in a clean, sealed bin. Mark the polymer, date, and dry cycle on the bin.
Build a Repeatable Shred Size Workflow
- Identify and separate each polymer stream.
- Remove metal, labels, adhesives, dirt, and oil.
- Reduce large objects to a safe shredder size.
- Shred with a documented setup and pass count.
- Screen for coarse pieces, fines, and bridging shapes.
- Measure fraction mass and loose bulk density.
- Dry the polymer with a suitable method.
- Blend the prepared feedstock before extrusion.
- Run a short trial and record output and diameter.
- Approve the batch only when feeding stays stable.
Once shred size works well, save the range as an internal feedstock specification. Include screen sizes, allowed fractions, bulk density, drying history, and sample photos.
Troubleshoot from the Hopper Forward
When filament diameter changes, it is easy to adjust the puller first. That may hide the true cause.
- Hopper level falls unevenly: check for bridges, strips, and wide flakes.
- Output surges and fades: check size distribution, fines, and bulk density.
- Solid pieces appear in the melt: check large outliers, heat input, and polymer identity.
- Filament cycles between thick and thin: measure screw output before changing the puller.
- Output slowly declines: check hopper flow, feed temperature, contamination, and screen buildup.
Work from raw material toward finished filament. This order separates feeding faults from melting, cooling, die, and pulling problems.
A clear test order saves time. It also keeps one fault from being hidden by a new machine setting.
Make Particle Control Part of Quality Control
Good shred size is not enough by itself. The screw must receive a stable mass of clean, dry, and compatible plastic.
Particle size helps control that flow, but size alone is not enough. Shape, fines, bulk density, moisture, and contamination all affect the result.
Define a working range for your equipment. Measure it with the same method each time. Then link each feedstock record to output and filament diameter.
This approach turns shred size from a rough guess into a measured process setting.