Most 3D-print labs do not run out of material. The bigger problem is that failed prints, old prototypes, and leftover pieces slowly pile up until nobody is sure what they are or what to do with them.
A failed print, an old prototype, a test piece, and a support structure can all look like “plastic scrap.” But they may be made from different plastics or have been used in different ways. A simple material-handling process helps keep known material useful and stops unknown material from accidentally getting mixed into the next project.
What happened to the material matters
Recent work in 3D printing and recycled plastics points to one simple idea: a material’s name is not the whole story. How it was stored, whether it is clean, what it was mixed with, and how it has been used can all affect what it can do next.
That does not mean every lab needs to save every piece of plastic. It simply means knowing enough to make a good choice. The goal is not perfect paperwork for every small part. It is a routine that saves useful material and makes unknown material easy to spot.
Sort material where it is created
The easiest time to make a good decision is when a print comes off the printer. Instead of putting everything into one scrap bin, use a few clear categories for materials that should not be mixed.
- Known, single-material prints
- Material used in experiments or exposed to chemicals
- Multi-material or composite parts
- Unknown material
- Non-plastic contamination such as hardware, magnets, tape, labels, or inserts
This is not about creating more administration. It is about keeping options open. Known material can be checked later. Mixed or uncertain material can be set aside instead of being assumed safe for another use.
Use a simple “known or unknown” system
A practical lab does not need a complicated tracking system. It can simply group material by how well it is known.
Well-known material has a clear plastic type, source, and history, with no obvious contamination. Partly known material is mostly understood but has limits, such as mixed colors or an incomplete history. Unknown material may be dirty, exposed to chemicals, or unsuitable for mixing with other stock.
This approach works in print farms, research spaces, schools, and prototype workshops because it gives people an easy next question. Instead of asking, “Where does this scrap go?” they can ask, “What do we know about it, and what should happen next?”
Keep notes short and useful
Material tracking does not need to turn into a large database. A label, a spreadsheet, or a simple digital note is often enough. Record the information people will actually use: the material type if known, color, approximate print date or project, and whether it touched chemicals, heat, glue, or embedded hardware.
That small amount of context reduces guesswork. It also makes it easier to separate samples, manage prototype leftovers, and notice repeat causes of failed prints.
Check material before reducing its size
Before reducing any material into smaller pieces, check it for things that do not belong. Remove fasteners, magnets, tape, labels, and residue from other processes. These small items can create avoidable problems later.
Each lab should decide what it accepts based on the type of plastic and the intended use. Material that has touched chemicals, been mixed with unknown plastics, or been used for sensitive testing should stay separate unless the team has a clear reason to handle it differently.
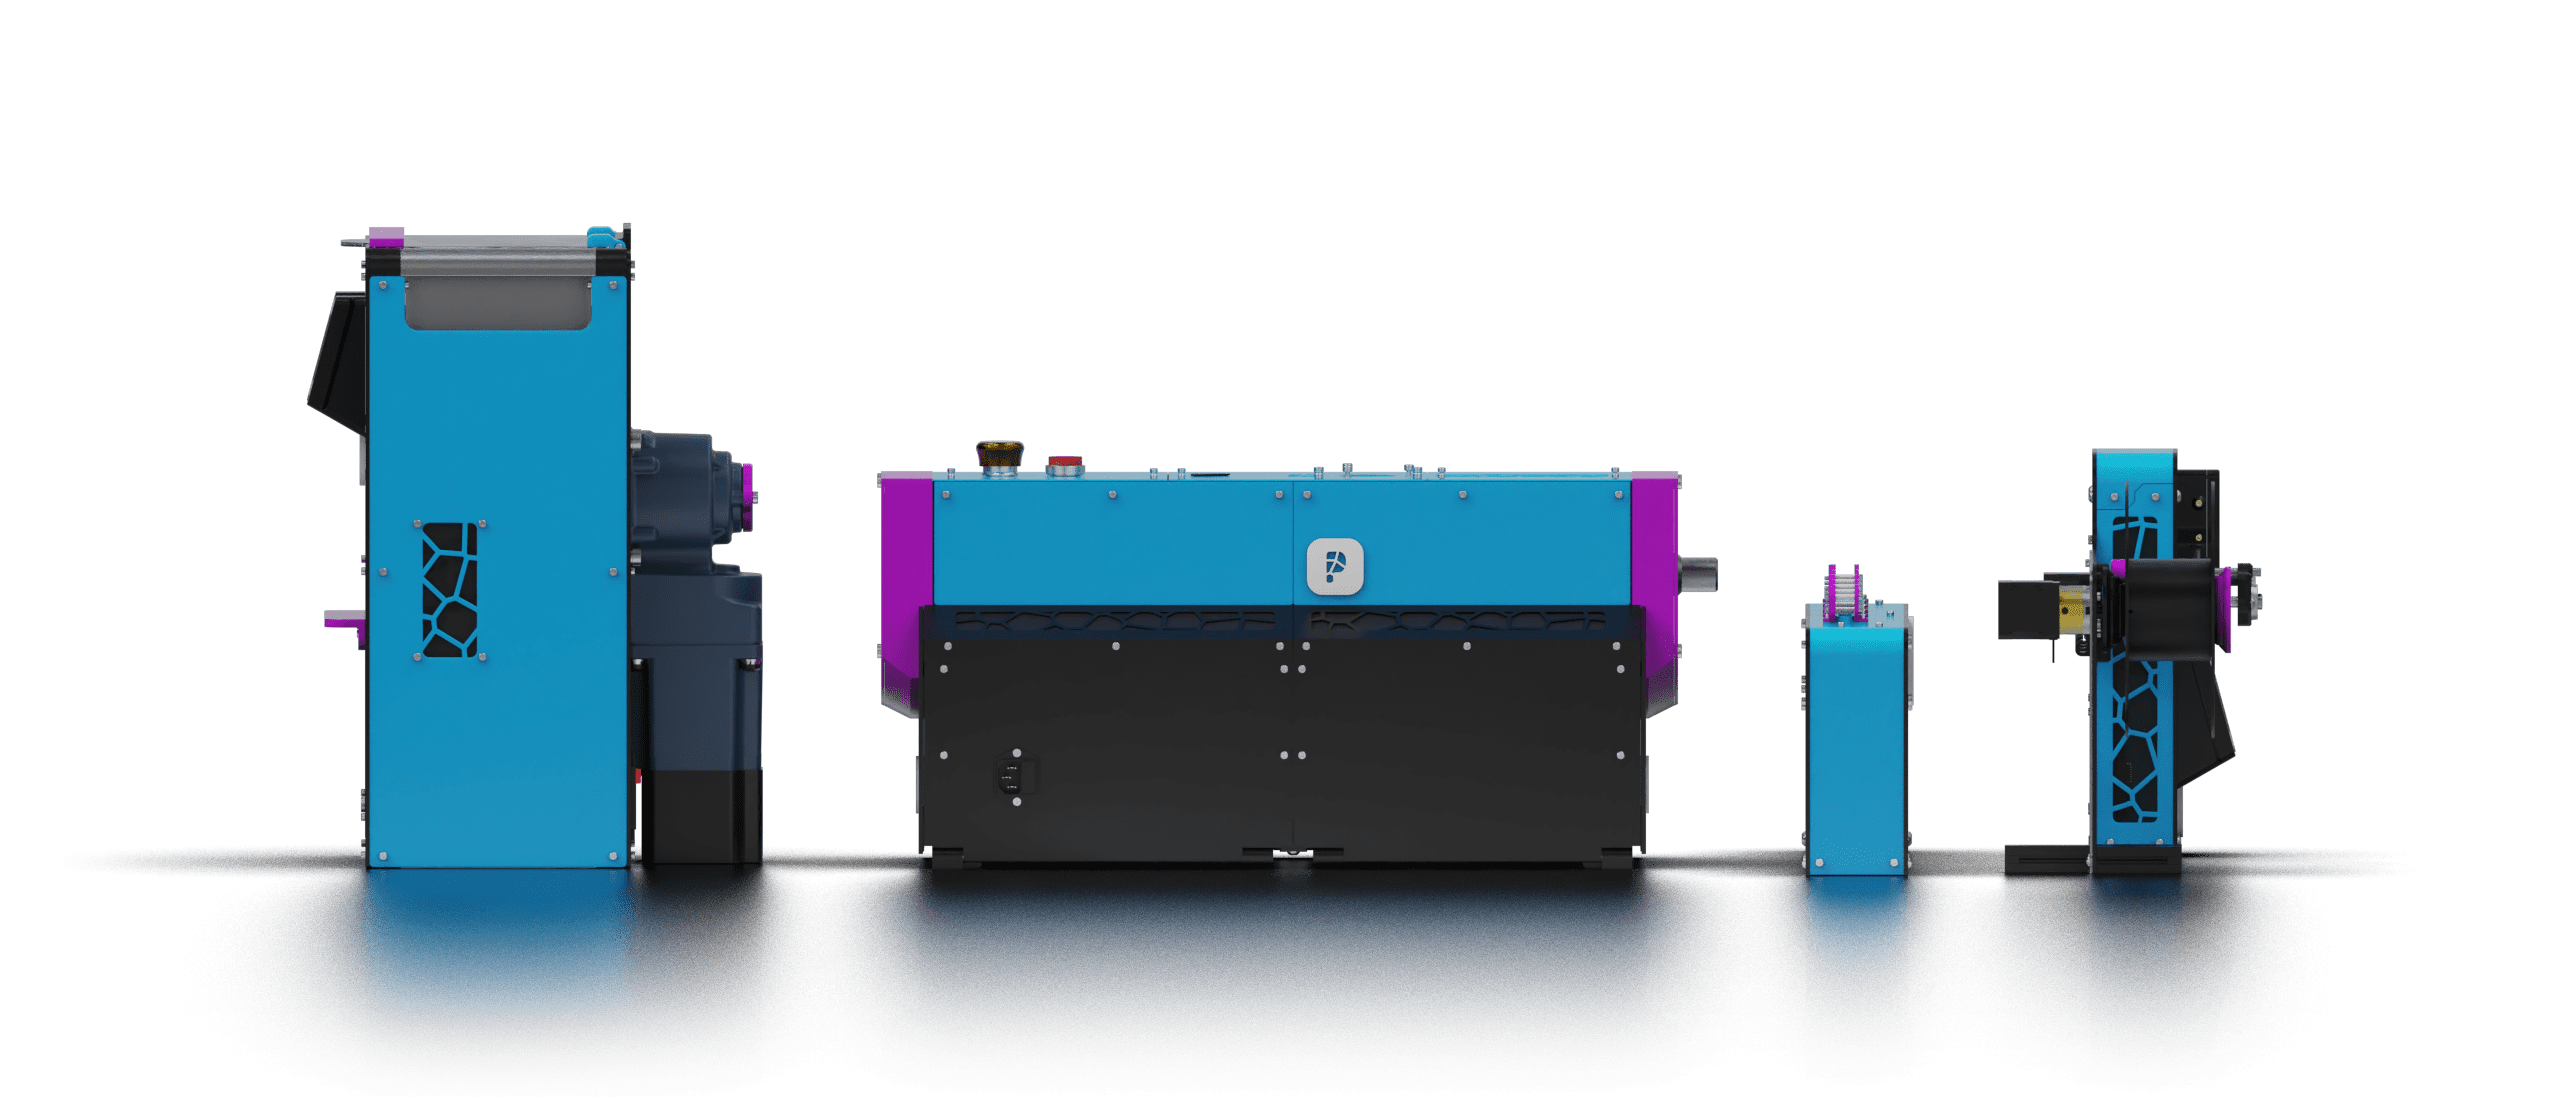
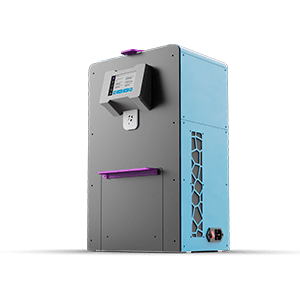
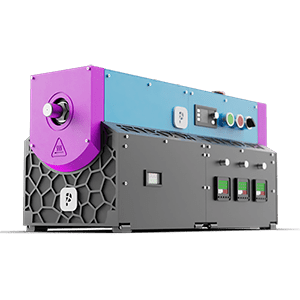
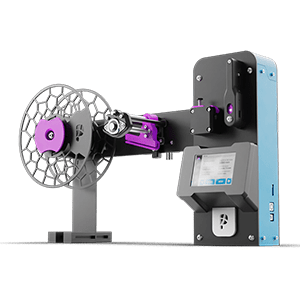
For teams that need to reduce plastic into smaller pieces, a shredder can support this preparation stage. It does not replace sorting or simple record keeping—it works best when those steps happen first.
Start with one small pilot
The best systems begin simply. Choose one material stream, one work area, or one common source of failed prints. Set up the containers, add clear labels, and see where people still get confused.
After a few weeks, adjust the categories based on what actually happens. The best system is not the one with the most labels. It is the one people can follow every day. A thoughtful material-handling routine turns a growing pile of unknown objects into a manageable set of choices—and gives any 3D-printing team a stronger starting point for cleaner, more repeatable work.